
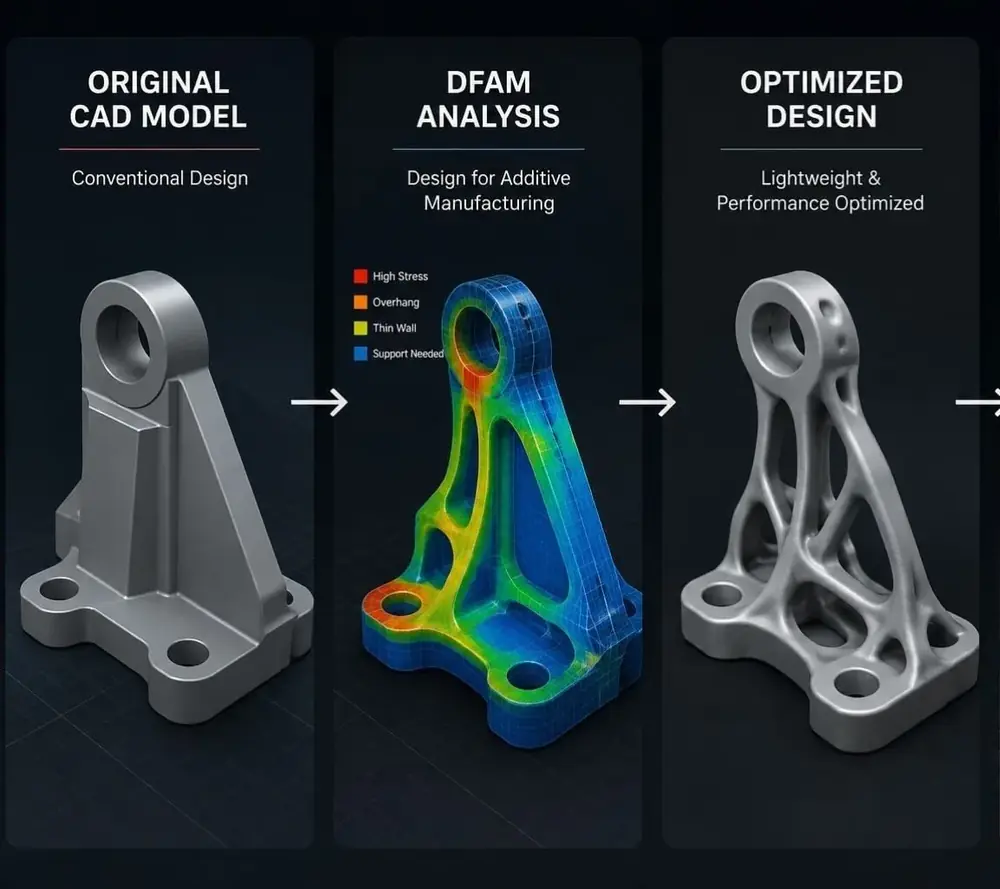
A good 3D print starts before the file reaches the printer. Small changes to geometry can improve strength, reduce support material, shorten print time and make assembly easier.
10 practical tips
- Choose the build direction early. Orientation affects strength, supports and surface finish.
- Use sensible wall thickness. Extremely thin walls can become fragile or difficult to print.
- Add fillets where stress concentrates. Rounded transitions can improve durability.
- Avoid unnecessary supports. Rework geometry or orientation where possible.
- Design holes for the process. Small holes may print differently from their nominal CAD dimensions.
- Allow assembly clearance. Mating parts need practical tolerance rather than zero-gap CAD fits.
- Consider overhangs. Steep unsupported surfaces may need support or a revised angle.
- Keep critical dimensions accessible. Avoid placing precision features where they are difficult to measure or finish.
- Think about post-processing. Leave access for support removal, sanding, inserts or finishing.
- Prototype the interface first. If a part must fit another component, print a small test section before committing to the full part.
Design for the actual process
FDM and SLA have different capabilities, so a design that works well for one process may need changes for another. Tell your manufacturer what the part needs to achieve, not just the desired dimensions.
HyCube Works can review a design before manufacturing when the application calls for specific fit, strength or finish requirements.
Have a part to manufacture?
Share your CAD file, quantity and requirements with HyCube Works for 3D printing, fabrication or digital manufacturing support.
Get a Quote →